QuickBooks Online Link Configuration Instructions: Difference between revisions
No edit summary |
No edit summary |
||
| Line 10: | Line 10: | ||
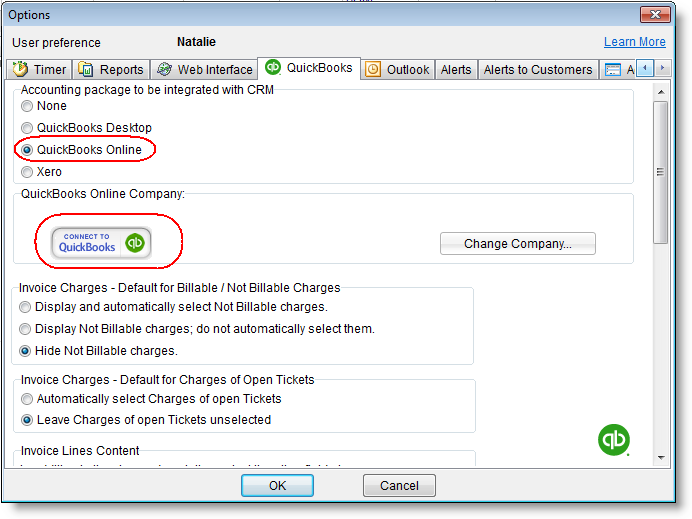
First Select the '''''QuickBooks Online''''' option and then click the '''''Connect to QuickBooks''''' button. | First Select the '''''QuickBooks Online''''' option and then click the '''''Connect to QuickBooks''''' button. | ||
[[File: | [[File:quickbooks_online_options1.png|center]] | ||
Revision as of 15:34, 4 April 2020
The CommitCRM-QuickBooks Link needs to be set up once, after the initial setup you simply use the various options available to you from the QuickBooks menus.
From CommitCRM’s main menu select Tools > Options...
and then navigate to the QuickBooks tab.
First Select the QuickBooks Online option and then click the Connect to QuickBooks button.

Patiently wait until the QuickBooks Online Authorization window opens:
(* In case you are using CommitCRM 9 and the above window looks different for you, please follow these instructions to setup QuickBooks Online Link. )
Use your existing QuickBooks Online credentials to log into your QuickBooks Online Account.
Once you are signed in, the following page be displayed:
Click Authorize button to allow CommitCRM to access your QuickBooks Online account.
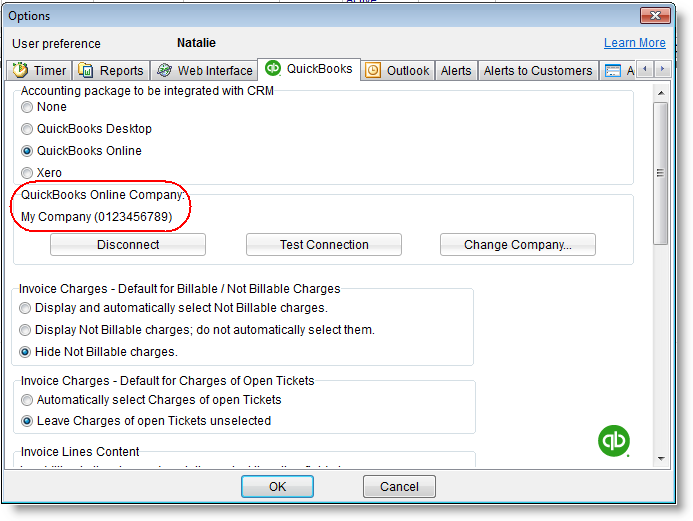
The name of the QuickBooks Online company should now be displayed:

Click OK to close this window.
Congratulations! The connection between CommitCRM and your QuickBooks Online has been successfully established!
Go back to the main CommitCRM-QuickBooks Link setup guide.